 Fitiva
First 10 minutes as a new coach
Work through the setup card on your dashboard, then add your first athlete.
Your dashboard shows Finish setting up Fitiva until you are done. Each row opens the right page and ticks itself off. In the order the card shows them:
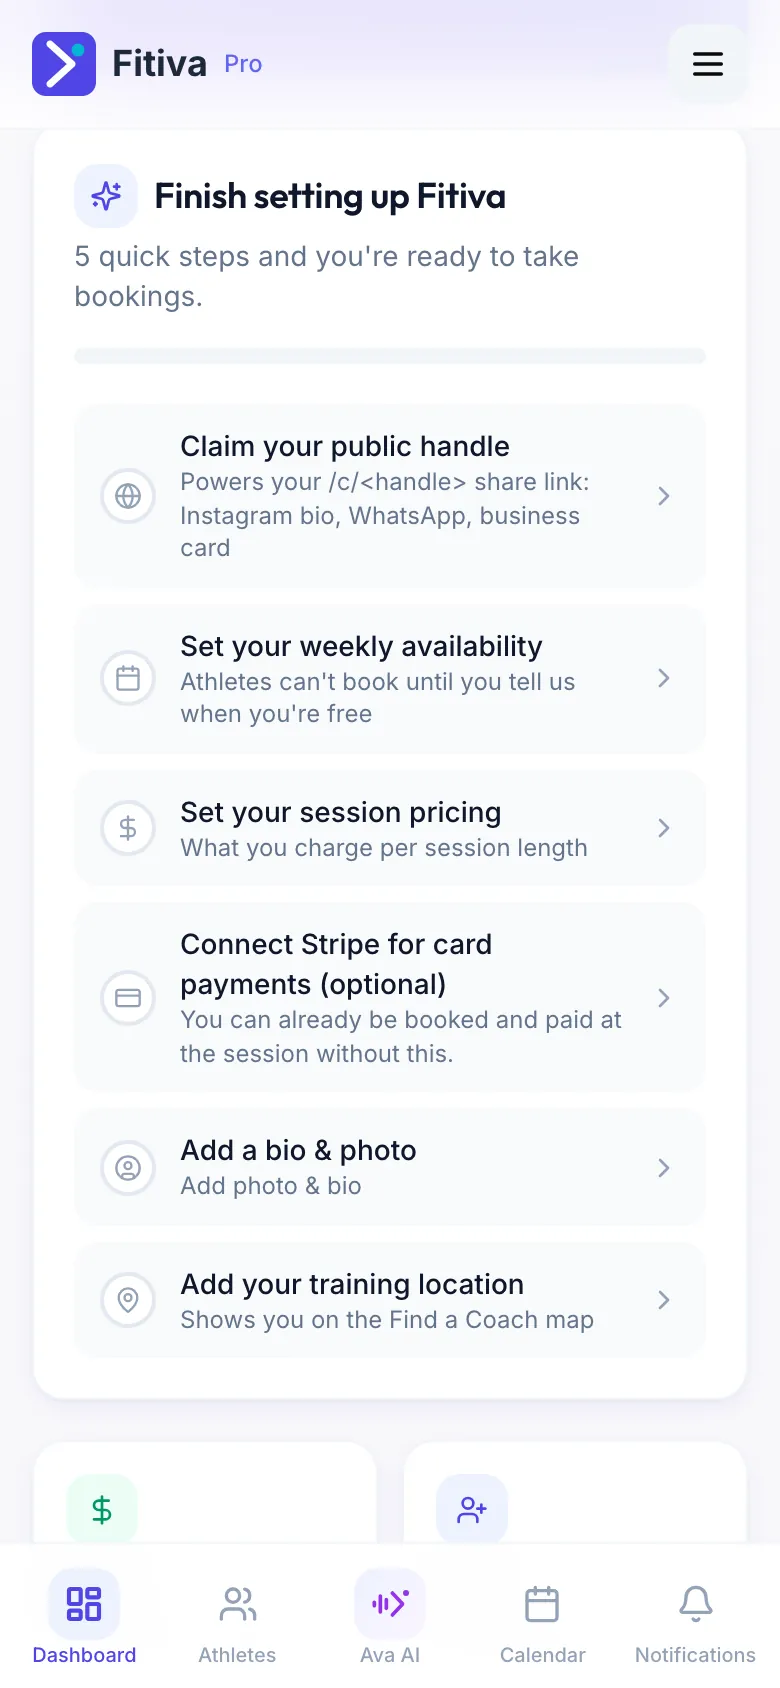
- Claim your public handle on My Profile. It becomes your share link, app.fitivapro.com/c/ followed by your handle, for your Instagram bio, WhatsApp or business card.
- Set your weekly availability: open Calendar, press Availability settings (the cog) and add the days and hours you coach.
- Set your session pricing: in Financials, Session pricing, set a price for each session length you offer.
- Connect Stripe for card payments (optional): in Financials, choose Your country (Germany, Austria or Switzerland) and press Connect with Stripe.
- Add a bio & photo on My Profile.
- Add your training location on My Profile, so you show up on the Find a coach map.
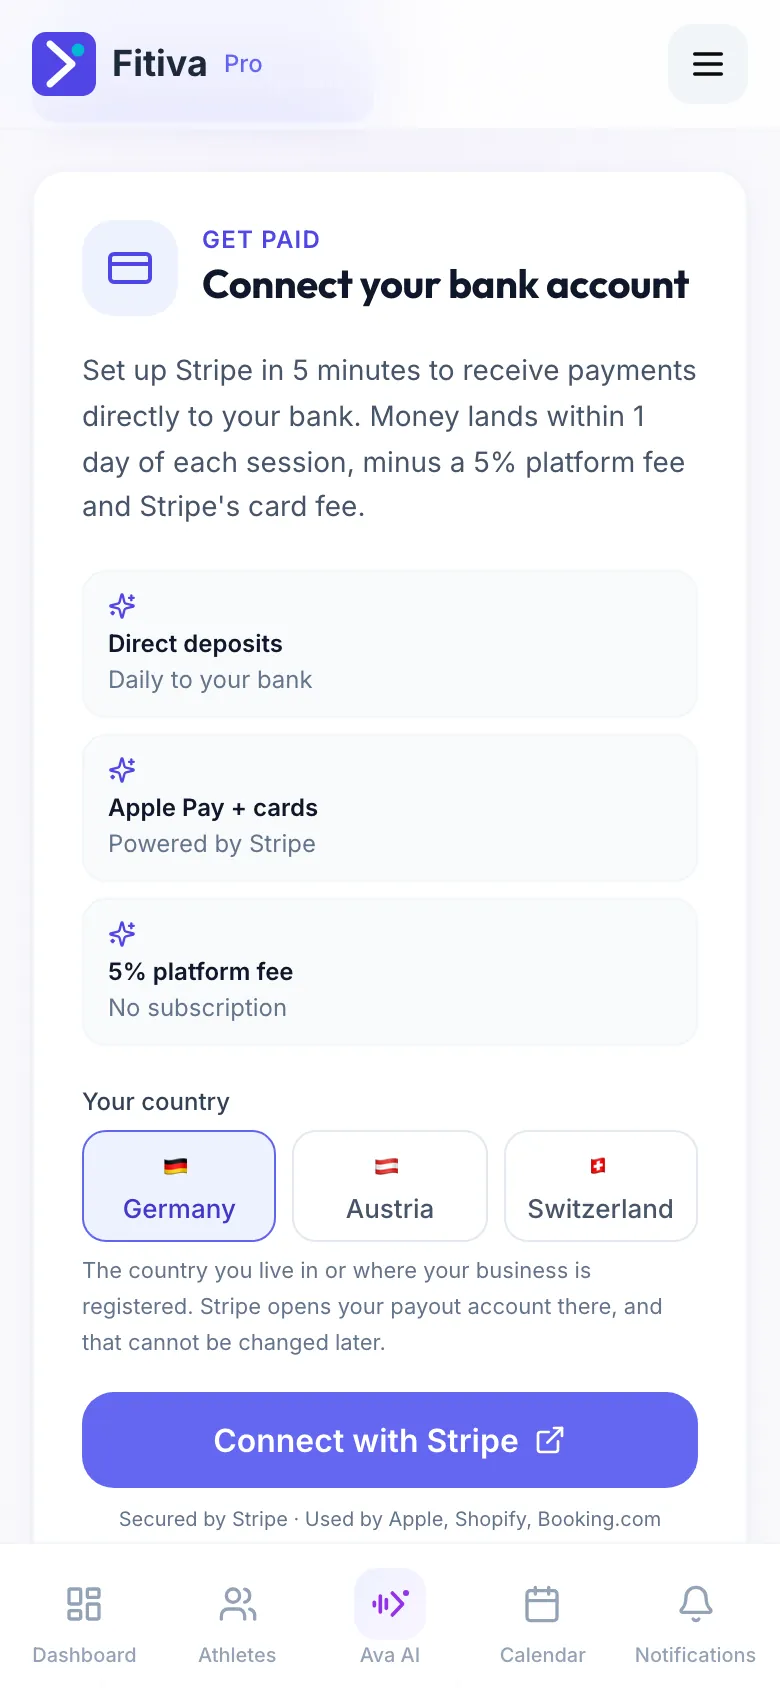
When the required steps are done, the card says You're all set up and hands you your link with Copy link and Share. The Stripe step is optional: without it, athletes can already book you and pay you at the session.
Then your first athlete. Go to Athletes and press Add Athlete. With an email address they get an invite to join you. On the Free plan you can have up to 3 active athletes. Open the athlete to give them a plan: Assign Plan writes one with AI on Pro and Elite, or build a routine yourself under Workouts with New Routine.
Pitfalls
- The availability dialog only offers session lengths that have a price. Hours without any price are saved, but athletes can only pay once a length has a price.
- The country for Stripe cannot be changed later. Pick the country you live in or where your business is registered.
- Before a booking, athletes only see your area, not your street.
Looking for something else?